
The process steps are detailed below:
Undercoat
- Airbrush Vallejo black.
- Airbrush Vallejo grey (zenithal highlight)
Basecoat
- Airbrush GW Air Mephiston Red
- Airbrush GW Air Evil Sunz Scarlet (zenithal highlight)
- Paint details with GW/Vallejo base paints
- Paint base with GW Steel Legion Drab.
- Paint lighter areas of base with mix of GW Steel Legion Drab + GW Skull White
- Pick out individual details on base with base colours
- Apply gloss varnish
- Apply decals
- Seal decals
Shade
Highlights
Seal
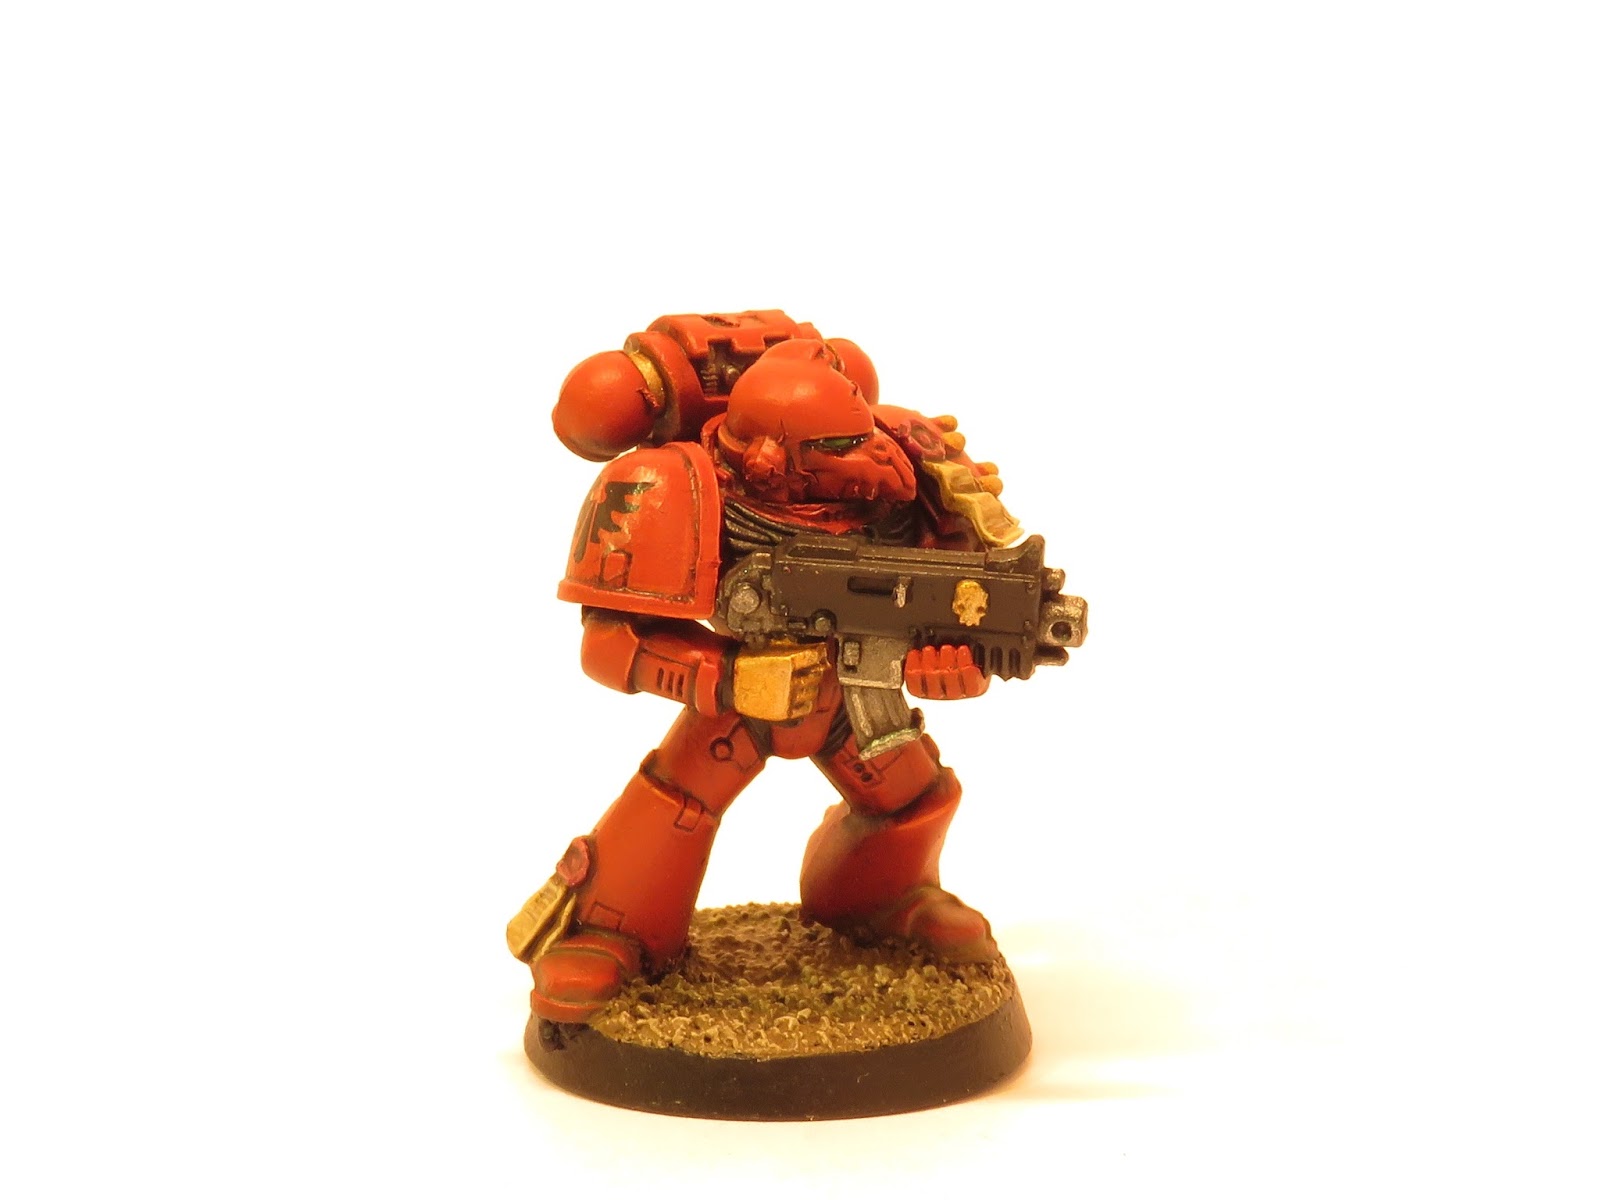
This process has been formulated from techniques observed on Youtube and from within the ForgeWorld Modelling Masterclass Volume 1 book. The scheme has been designed to combine elements of the Blood Angels livery from both 30K and 40K- hence the gold hand and other areas. Whilst the quality of the model isn't the highest (which wasn't part of my objectives), I feel as though I have sufficiently tested and learned enough about the scheme to move forward with starting on my army. The only tweak I will make is around the base. I didn't water down the GW Steel Legion Drab enough and so the base isn't to the quality I am trying to achieve (I want to get as close to the base on my Contemptor Dreadnought as possible- as it looks awesome!).

Next up I will be starting to work on my Blood Angels units... at last!


- Apply brown/black oil wash to model and base
- Tidy up shade with white spirit
- Apply washes of thinned GW Steel Legion Drab mixed with earth coloured weathering powders to recesses on the base and lower areas of the model
Highlights
- Highlight details on the model
- Dry brush base with various earth coloured paints e.g. GW Tallarn Sand
- Tidy up base
Seal
- Vallejo Satin varnish
This process has been formulated from techniques observed on Youtube and from within the ForgeWorld Modelling Masterclass Volume 1 book. The scheme has been designed to combine elements of the Blood Angels livery from both 30K and 40K- hence the gold hand and other areas. Whilst the quality of the model isn't the highest (which wasn't part of my objectives), I feel as though I have sufficiently tested and learned enough about the scheme to move forward with starting on my army. The only tweak I will make is around the base. I didn't water down the GW Steel Legion Drab enough and so the base isn't to the quality I am trying to achieve (I want to get as close to the base on my Contemptor Dreadnought as possible- as it looks awesome!).

Next up I will be starting to work on my Blood Angels units... at last!


